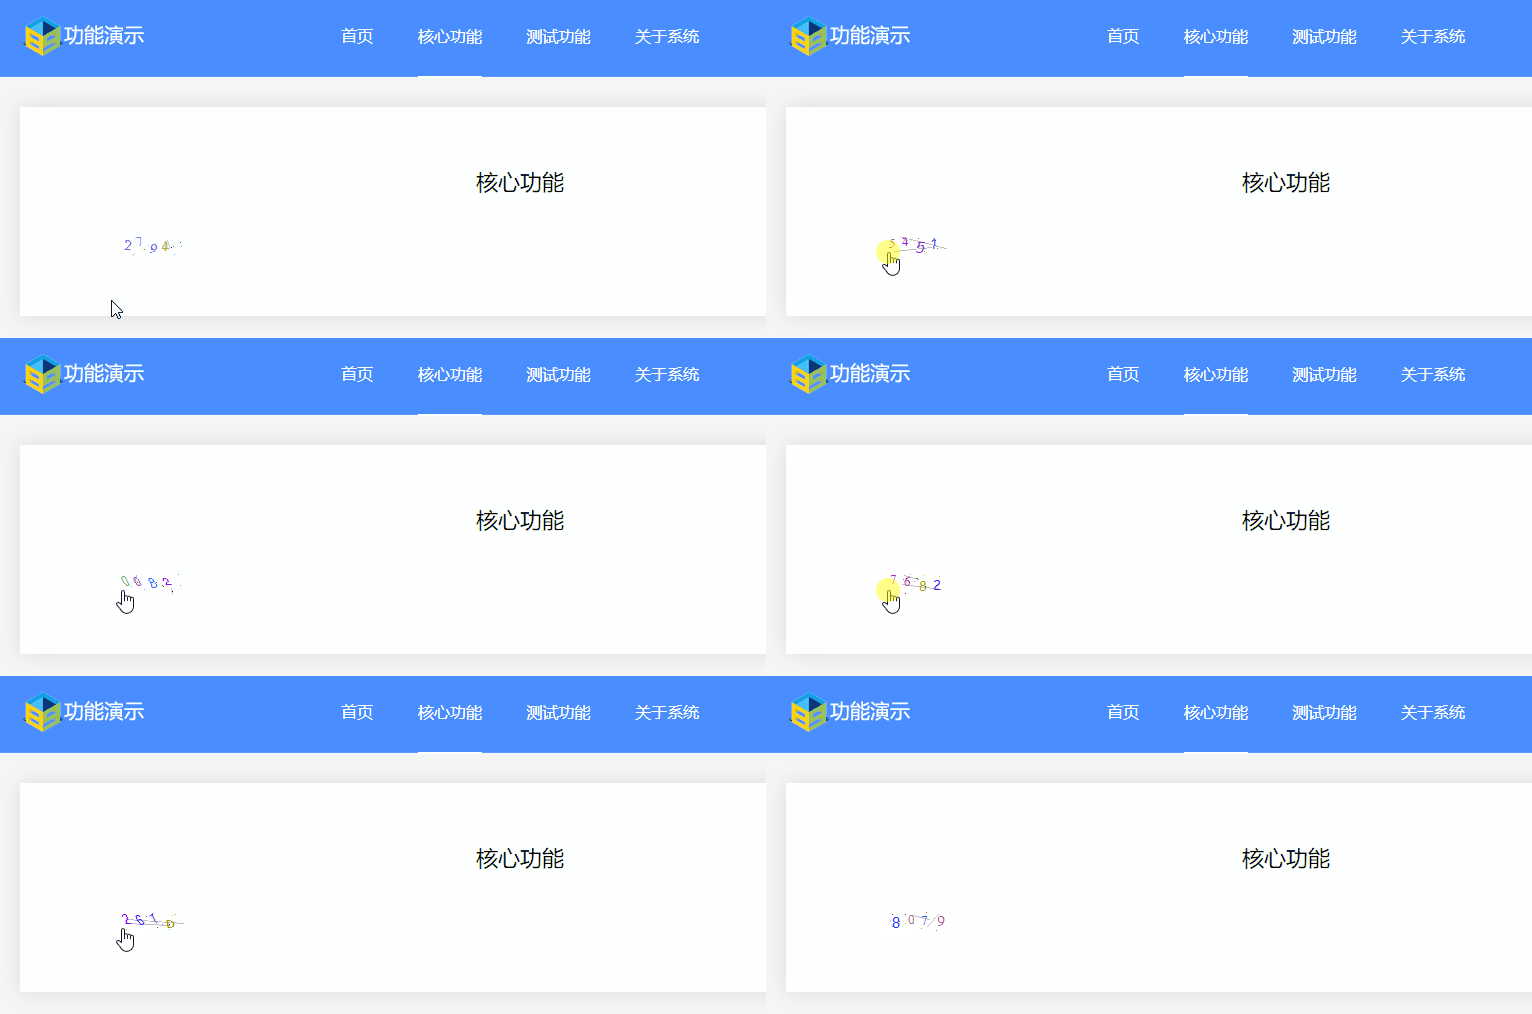
验证码是一种常用的方法,用于确认用户是否为人类而不是自动化机器或黑客攻击。验证码通常由一个或多个数字或字母组成,并且在输入时它们可能会出现在正常位置之外,或者需要是一些扭曲和变形的。
生成验证码可以使用多种编程技术,在本文中,使用 .NET C# 和 GDI+ 绘图技术。为了提高验证码的安全性,添加干扰线来给图像增加更多的噪音信息。接下来一步步地讲解如何实现。
Step 1: 创建一个生成随机验证码的函数
首先,需要先创建一个函数,它可以生成由字母数字组成的随机验证码。可以使用 Random 类来生成随机的数字和字母,并将它们组合在一起,生成所需要的验证码。
private string GenerateRandomCode(int codeLength)
{
    const string chars = "ABCDEFGHIJKLMNOPQRSTUVWXYZabcdefghijklmnopqrstuvwxyz0123456789";
    var random = new Random();
    var result = new string(
        Enumerable.Repeat(chars, codeLength)
                  .Select(s => s[random.Next(s.Length)])
                  .ToArray());
    return result;
}
可以将上述代码放到的类中来生成随机验证码。
Step 2: 使用 GDI+ 绘图技术生成验证码图像
在 C# 中,可以使用 GDI+ 图形库来创建一张图片并在其上绘制文字和图形。下面来创建一个函数来生成验证码图像,其过程分为以下几步:
1. 创建一个 Bitmap 对象来容纳的验证码图像。
2. 为图像设置一个背景颜色。
3. 在图像上绘制的验证码文本,这是会用到的 GDI+ 绘图技术之一。
4. 添加干扰线。
下面是生成验证码图像的代码:
public Bitmap GenerateImage(string code)
{
    Random rand = new Random();
    int codeWidth = 80;
    int codeHeight = 28;

    // Step 1: Create a Bitmap object to contain our image
    Bitmap bmp = new Bitmap(codeWidth, codeHeight);

    // Step 2: Set a background color for the image
    Graphics g = Graphics.FromImage(bmp);
    g.Clear(Color.FromArgb(240, 240, 240));

    // Step 3: Draw our text on the image
    Font font = new Font("Arial", 12);
    Brush brush = new SolidBrush(Color.Black);
    g.DrawString(code, font, brush, 10, 6);

    // Step 4: Add some lines to make the image more difficult to read
    for (int i = 0; i < 5; i++)
    {
        int x1 = rand.Next(codeWidth);
        int y1 = rand.Next(codeHeight);
        int x2 = rand.Next(codeWidth);
        int y2 = rand.Next(codeHeight);
        g.DrawLine(new Pen(Color.Gray), x1, y1, x2, y2);
    }

    return bmp;
}
这段代码很短,但它使用了 GDI+ 进行了一些不同的操作来生成验证码图像。在这个例子中,假设验证码应该是 80 像素宽、28 像素高,并通过 Graphics 对象对 Bitmap 对象进行操作。首先使用 GDI+ 调用 Clear 函数来设置背景颜色,使用 DrawString 函数来在图像上绘制文本。
Step 3: 使用上述函数并保存验证码图像
现在,已经编写了一个生成带干扰线的验证码的函数。使用以下代码即可将生成的验证码图像保存到指定位置:
// Main function
string code = GenerateRandomCode(6);
Bitmap image = GenerateImage(code);

image.Save(@"C:\Temp\captcha.jpg", ImageFormat.Jpeg);
完成上述所有步骤后,就可以获得一个带有干扰线的随机验证码图像了。
还有更简单的方法:
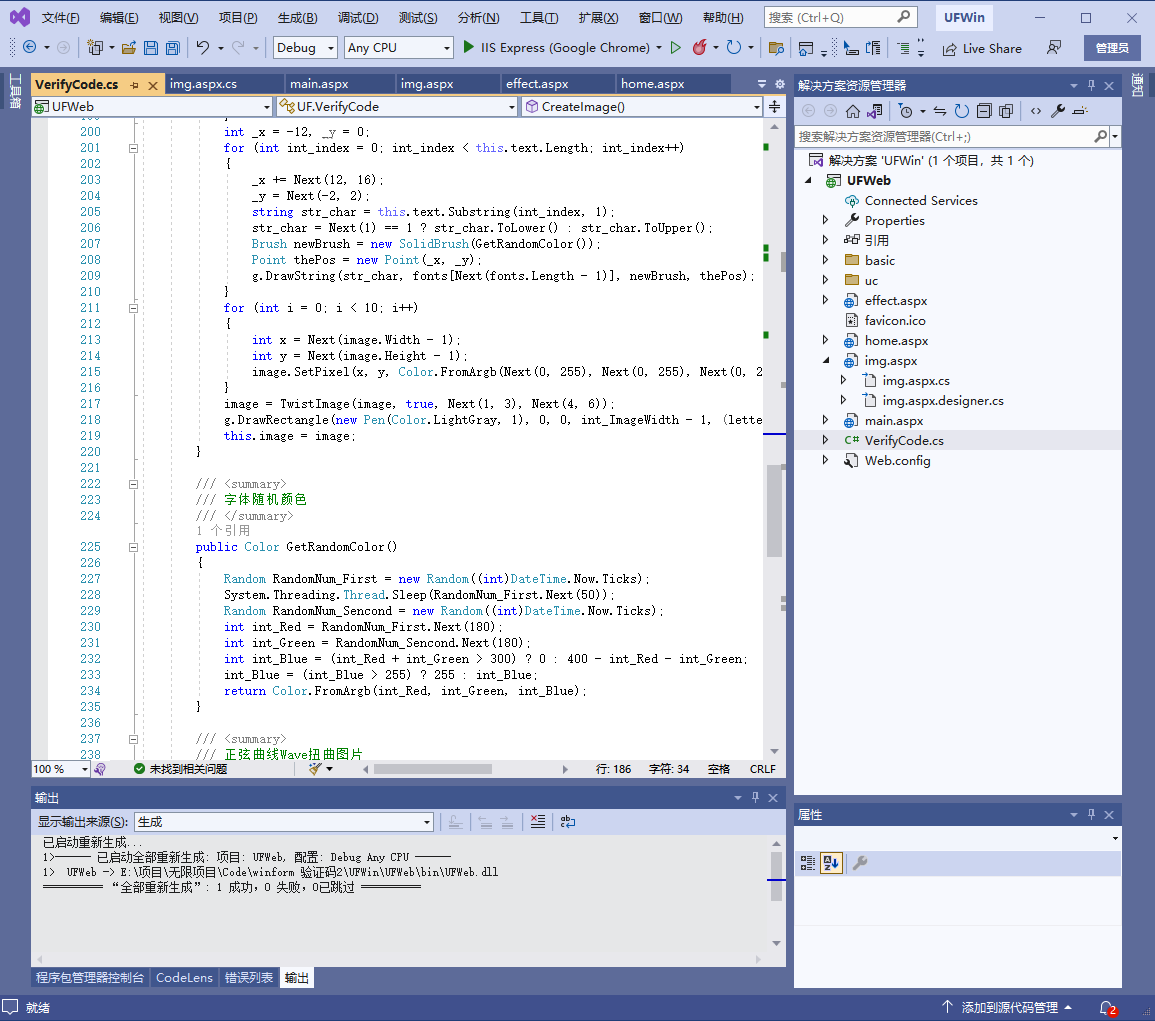
        /// <summary>
        /// 绘制验证码
        /// </summary>
        public void CreateImage()
        {
            int int_ImageWidth = this.text.Length * letterWidth;
            Bitmap image = new Bitmap(int_ImageWidth, letterHeight);
            Graphics g = Graphics.FromImage(image);
            g.Clear(Color.White);
            for (int i = 0; i < 2; i++)
            {
                int x1 = Next(image.Width - 1);
                int x2 = Next(image.Width - 1);
                int y1 = Next(image.Height - 1);
                int y2 = Next(image.Height - 1);
                g.DrawLine(new Pen(Color.Silver), x1, y1, x2, y2);
            }
            int _x = -12, _y = 0;
            for (int int_index = 0; int_index < this.text.Length; int_index++)
            {
                _x += Next(12, 16);
                _y = Next(-2, 2);
                string str_char = this.text.Substring(int_index, 1);
                str_char = Next(1) == 1 ? str_char.ToLower() : str_char.ToUpper();
                Brush newBrush = new SolidBrush(GetRandomColor());
                Point thePos = new Point(_x, _y);
                g.DrawString(str_char, fonts[Next(fonts.Length - 1)], newBrush, thePos);
            }
            for (int i = 0; i < 10; i++)
            {
                int x = Next(image.Width - 1);
                int y = Next(image.Height - 1);
                image.SetPixel(x, y, Color.FromArgb(Next(0, 255), Next(0, 255), Next(0, 255)));
            }
            image = TwistImage(image, true, Next(1, 3), Next(4, 6));
            g.DrawRectangle(new Pen(Color.LightGray, 1), 0, 0, int_ImageWidth - 1, (letterHeight - 1));
            this.image = image;
        }
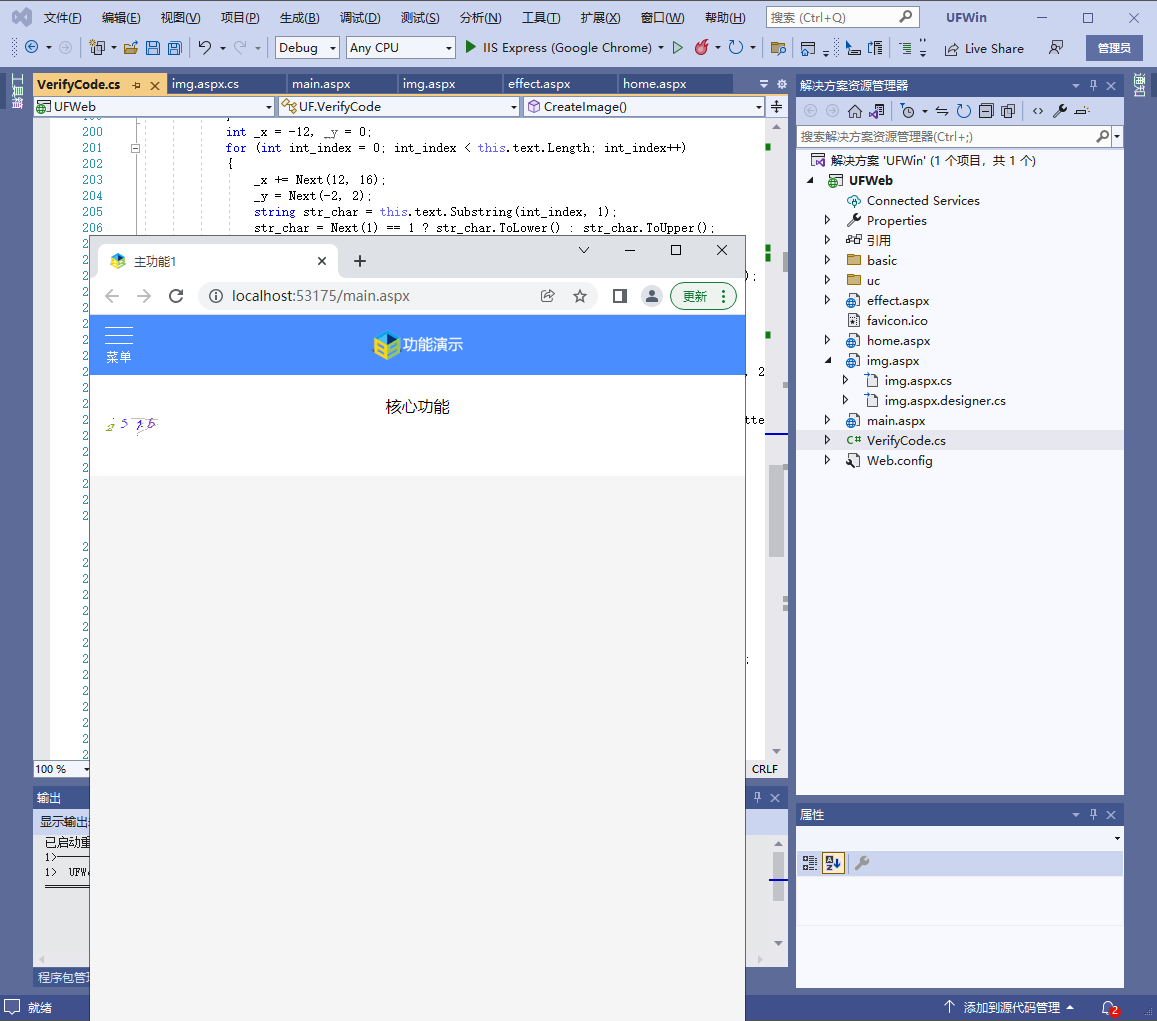
效果图如下:


