一、前言
网络通信在现代化的软件开发中发挥了极其重要的作用,而广播消息的发送与接收又是网络通信中必不可少的功能之一。在C#语言中,.net框架提供了UdpClient类用于实现基于UDP协议的网络通信。本文将以UdpClient为基础,介绍如何编写C#代码来接收广播消息。
二、UdpClient的基本用法
在开始介绍如何接收广播消息之前,先来了解一下UdpClient的基本用法。UdpClient提供了两种构造函数:一个用于指定本地IP地址和端口号(用于发送消息),另一个用于指定本地端口号(用于接收消息)。下面是创建UdpClient的示例代码:
//创建UdpClient实例,同时指定本地IP地址和端口号
UdpClient udpClient = new UdpClient(new IPEndPoint(IPAddress.Parse("192.168.0.100"), 5200));

//创建UdpClient实例,指定本地端口号
UdpClient udpClient = new UdpClient(5200);
三、接收广播消息的示例代码
下面是使用UdpClient来接收广播消息的示例代码:
//创建UdpClient实例,指定本地端口号
UdpClient udpClient = new UdpClient(5200);

//指定接收端口为所有IP地址的固定端口
udpClient.Client.SetSocketOption(SocketOptionLevel.Socket, SocketOptionName.ReuseAddress, true);
udpClient.Client.Bind(new IPEndPoint(IPAddress.Any, 5200));

//接收消息
while (true)
{
 byte[] receiveBytes = udpClient.Receive(ref new IPEndPoint(IPAddress.Any, 0));
 string receiveStr = Encoding.Unicode.GetString(receiveBytes);
 Console.WriteLine("Received message: {0}", receiveStr);
}
在上述代码中,使用UdpClient的Receive方法来接收广播消息。需要注意的是,需要首先将UdpClient的接收端口指定为所有IP地址的固定端口(这里指定为5200),并且调用SetSocketOption方法来设置套接字选项。
下面使用一段代码来举例:
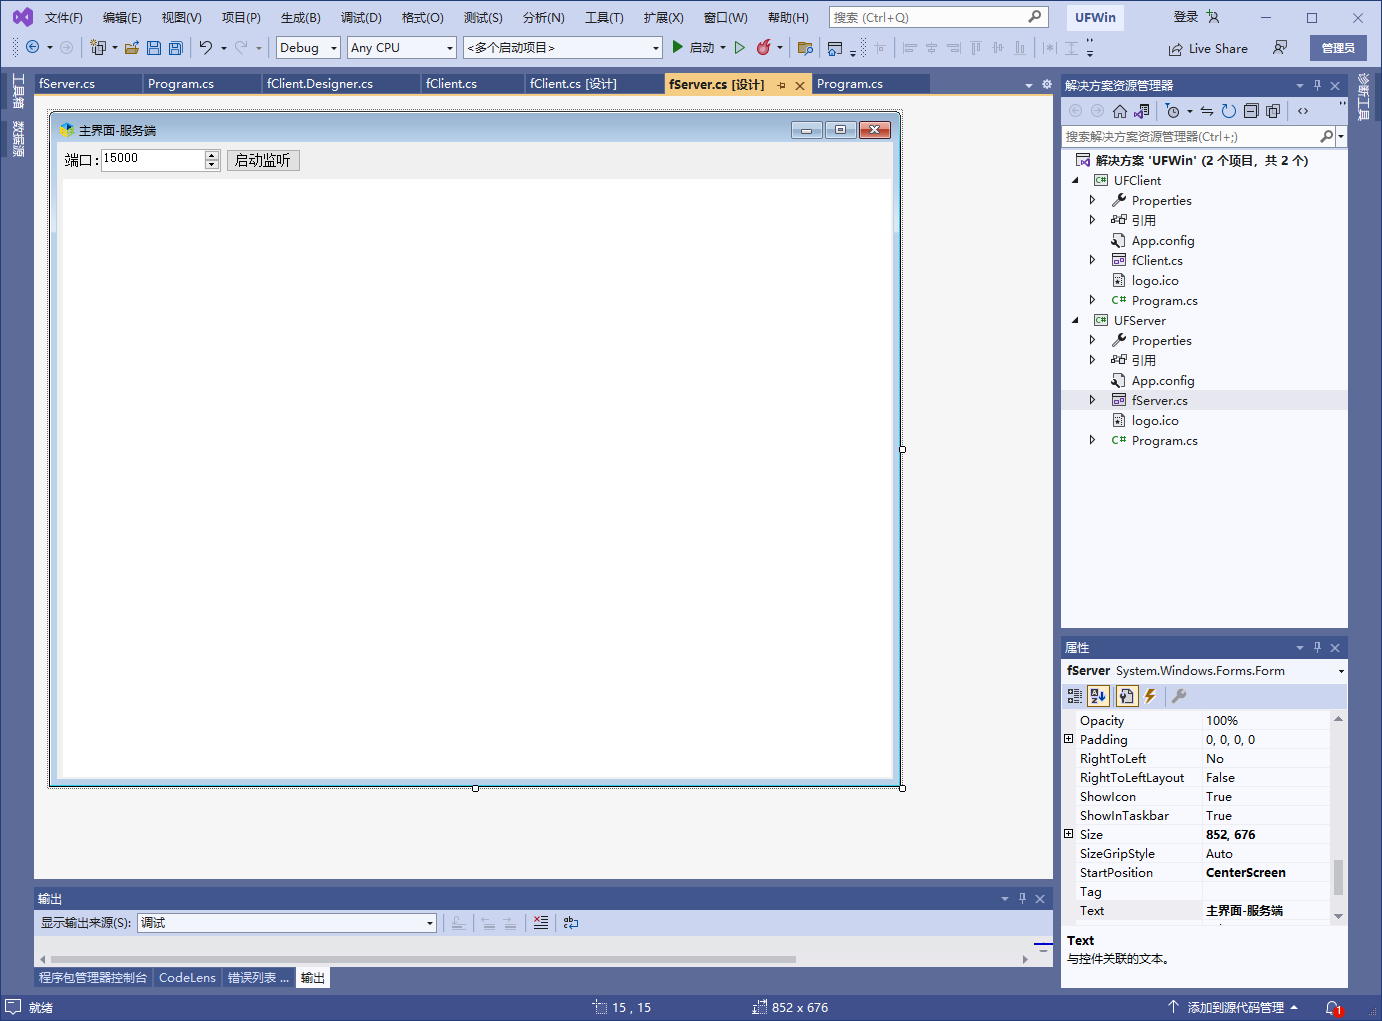
1.先新建客户端和服务器
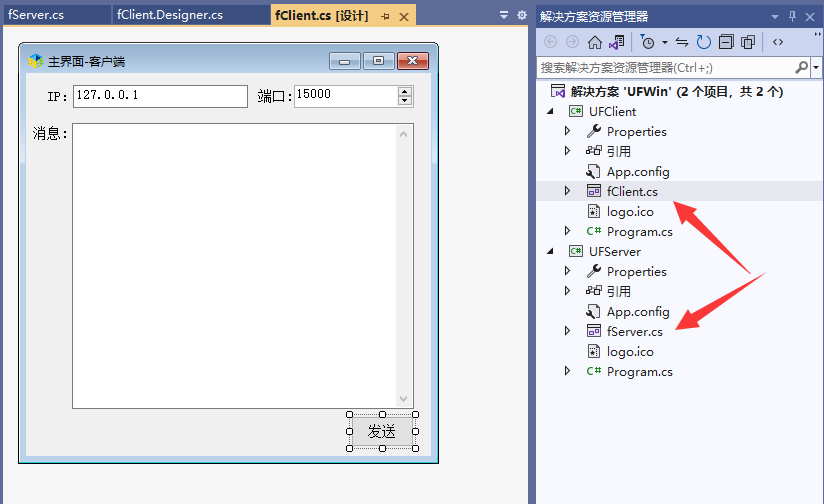
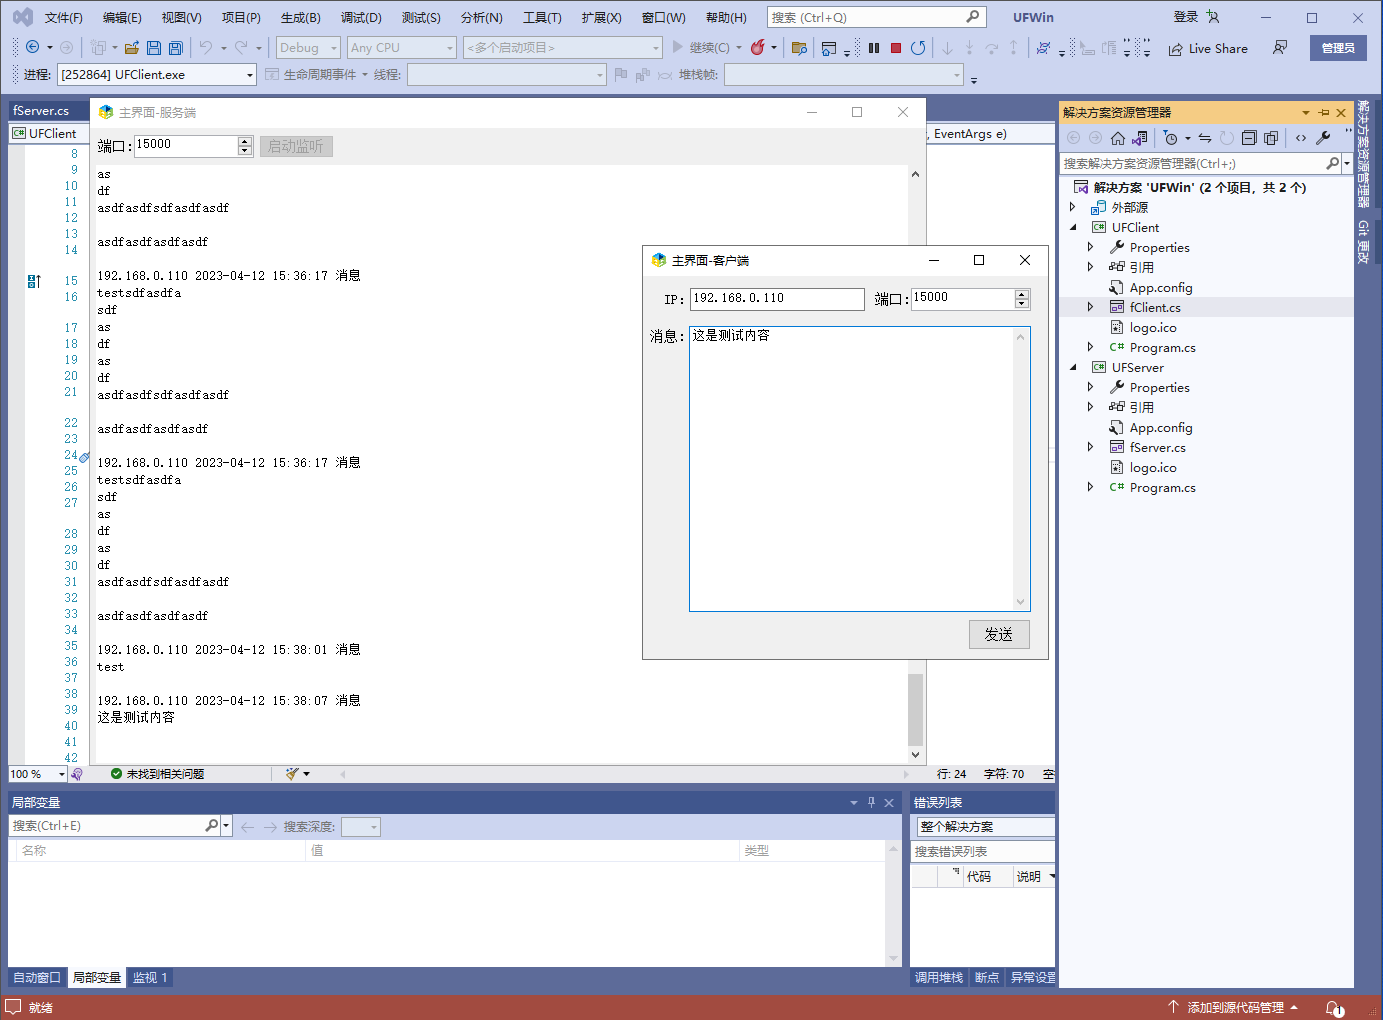
2.右键解决方案,属性,设置同时启动UFclient和UFServer,按F5调试
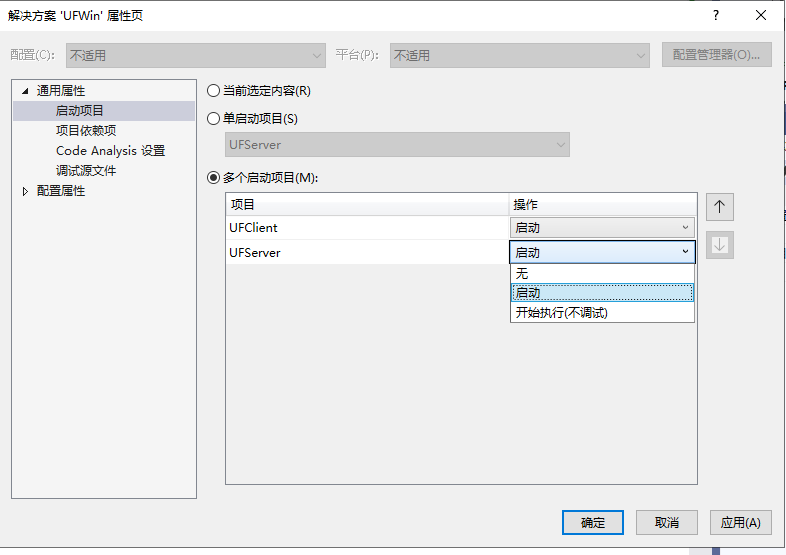
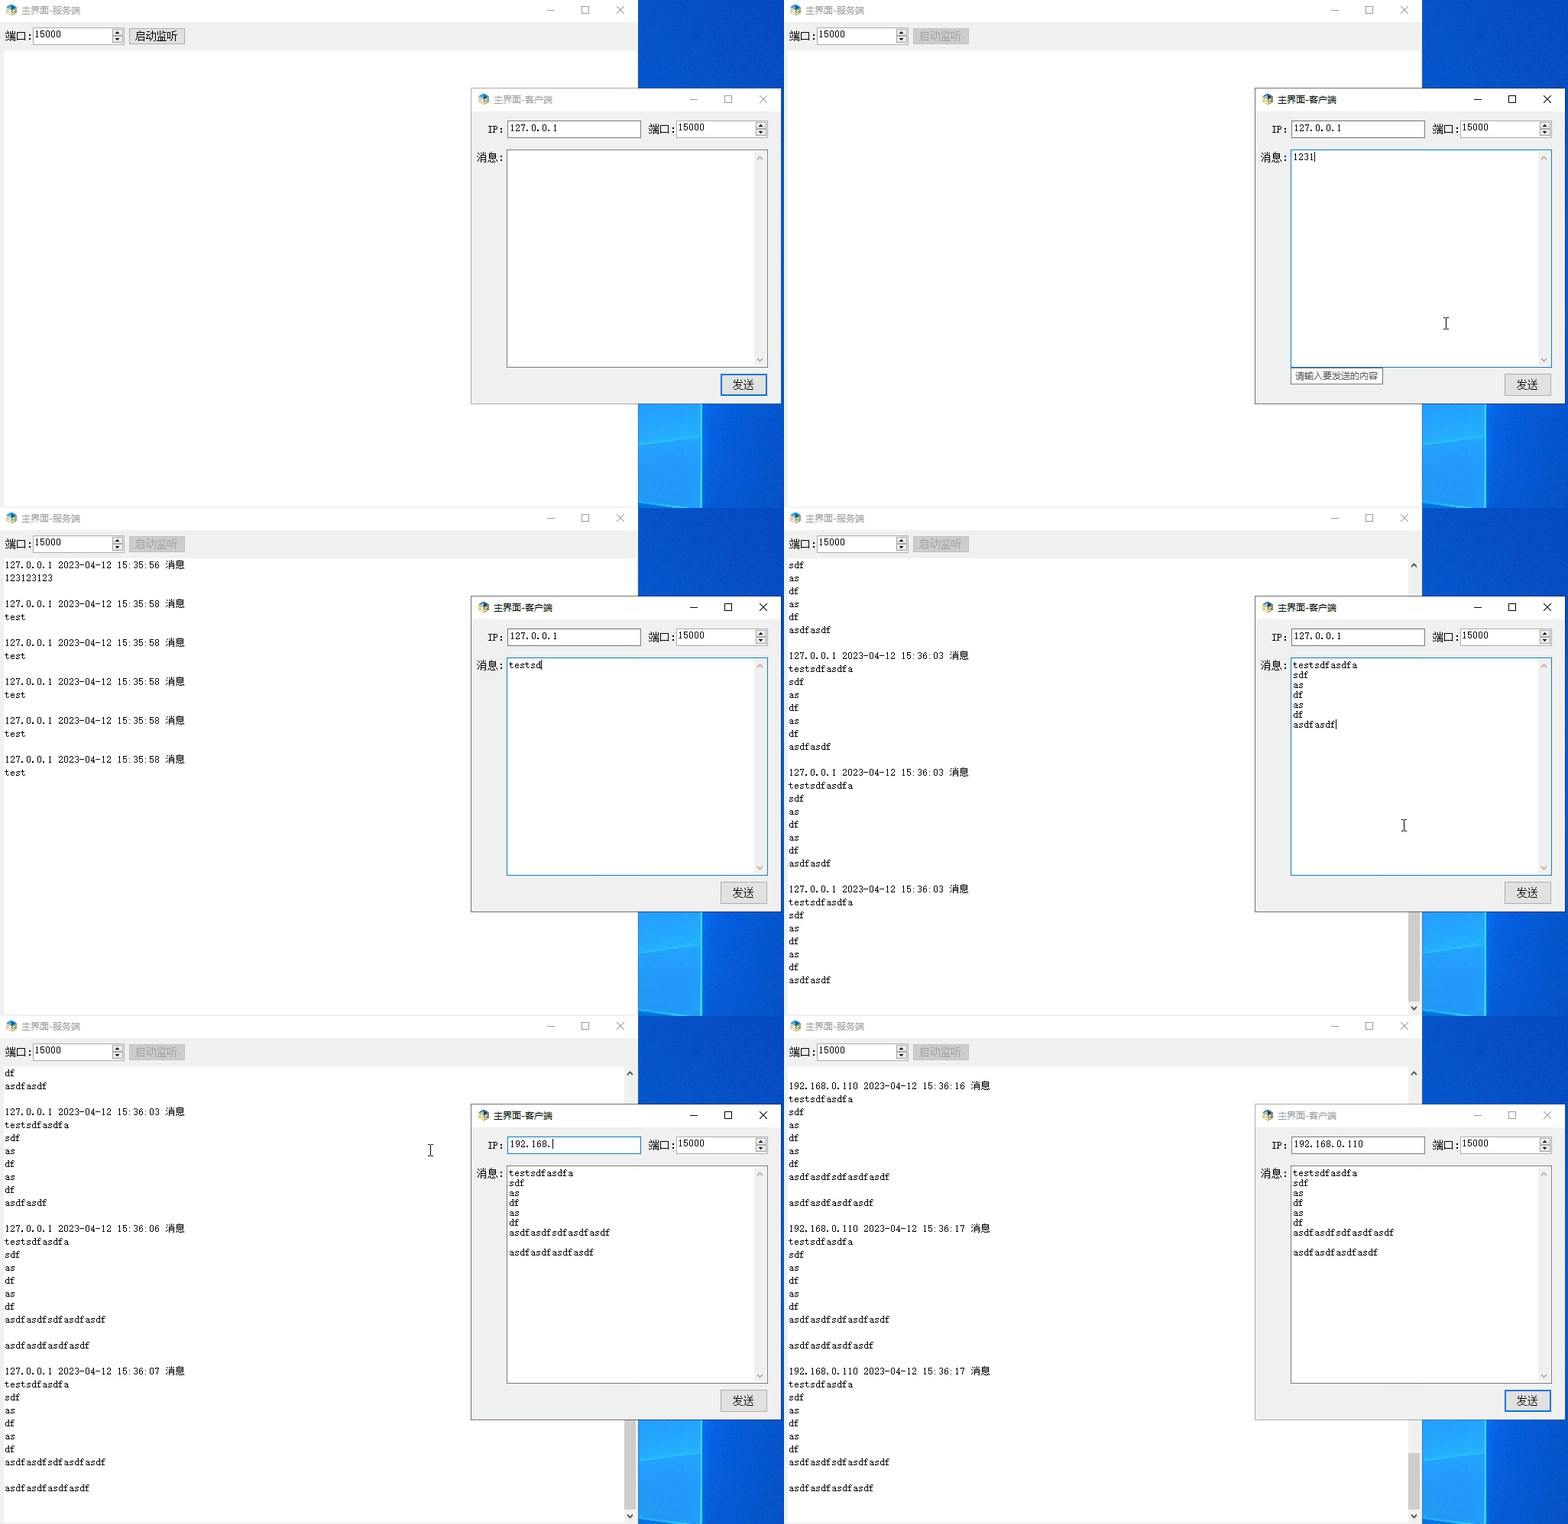
3.服务端监听本地IP端口,客户端只需要指定IP和端口,即可发送消息.
